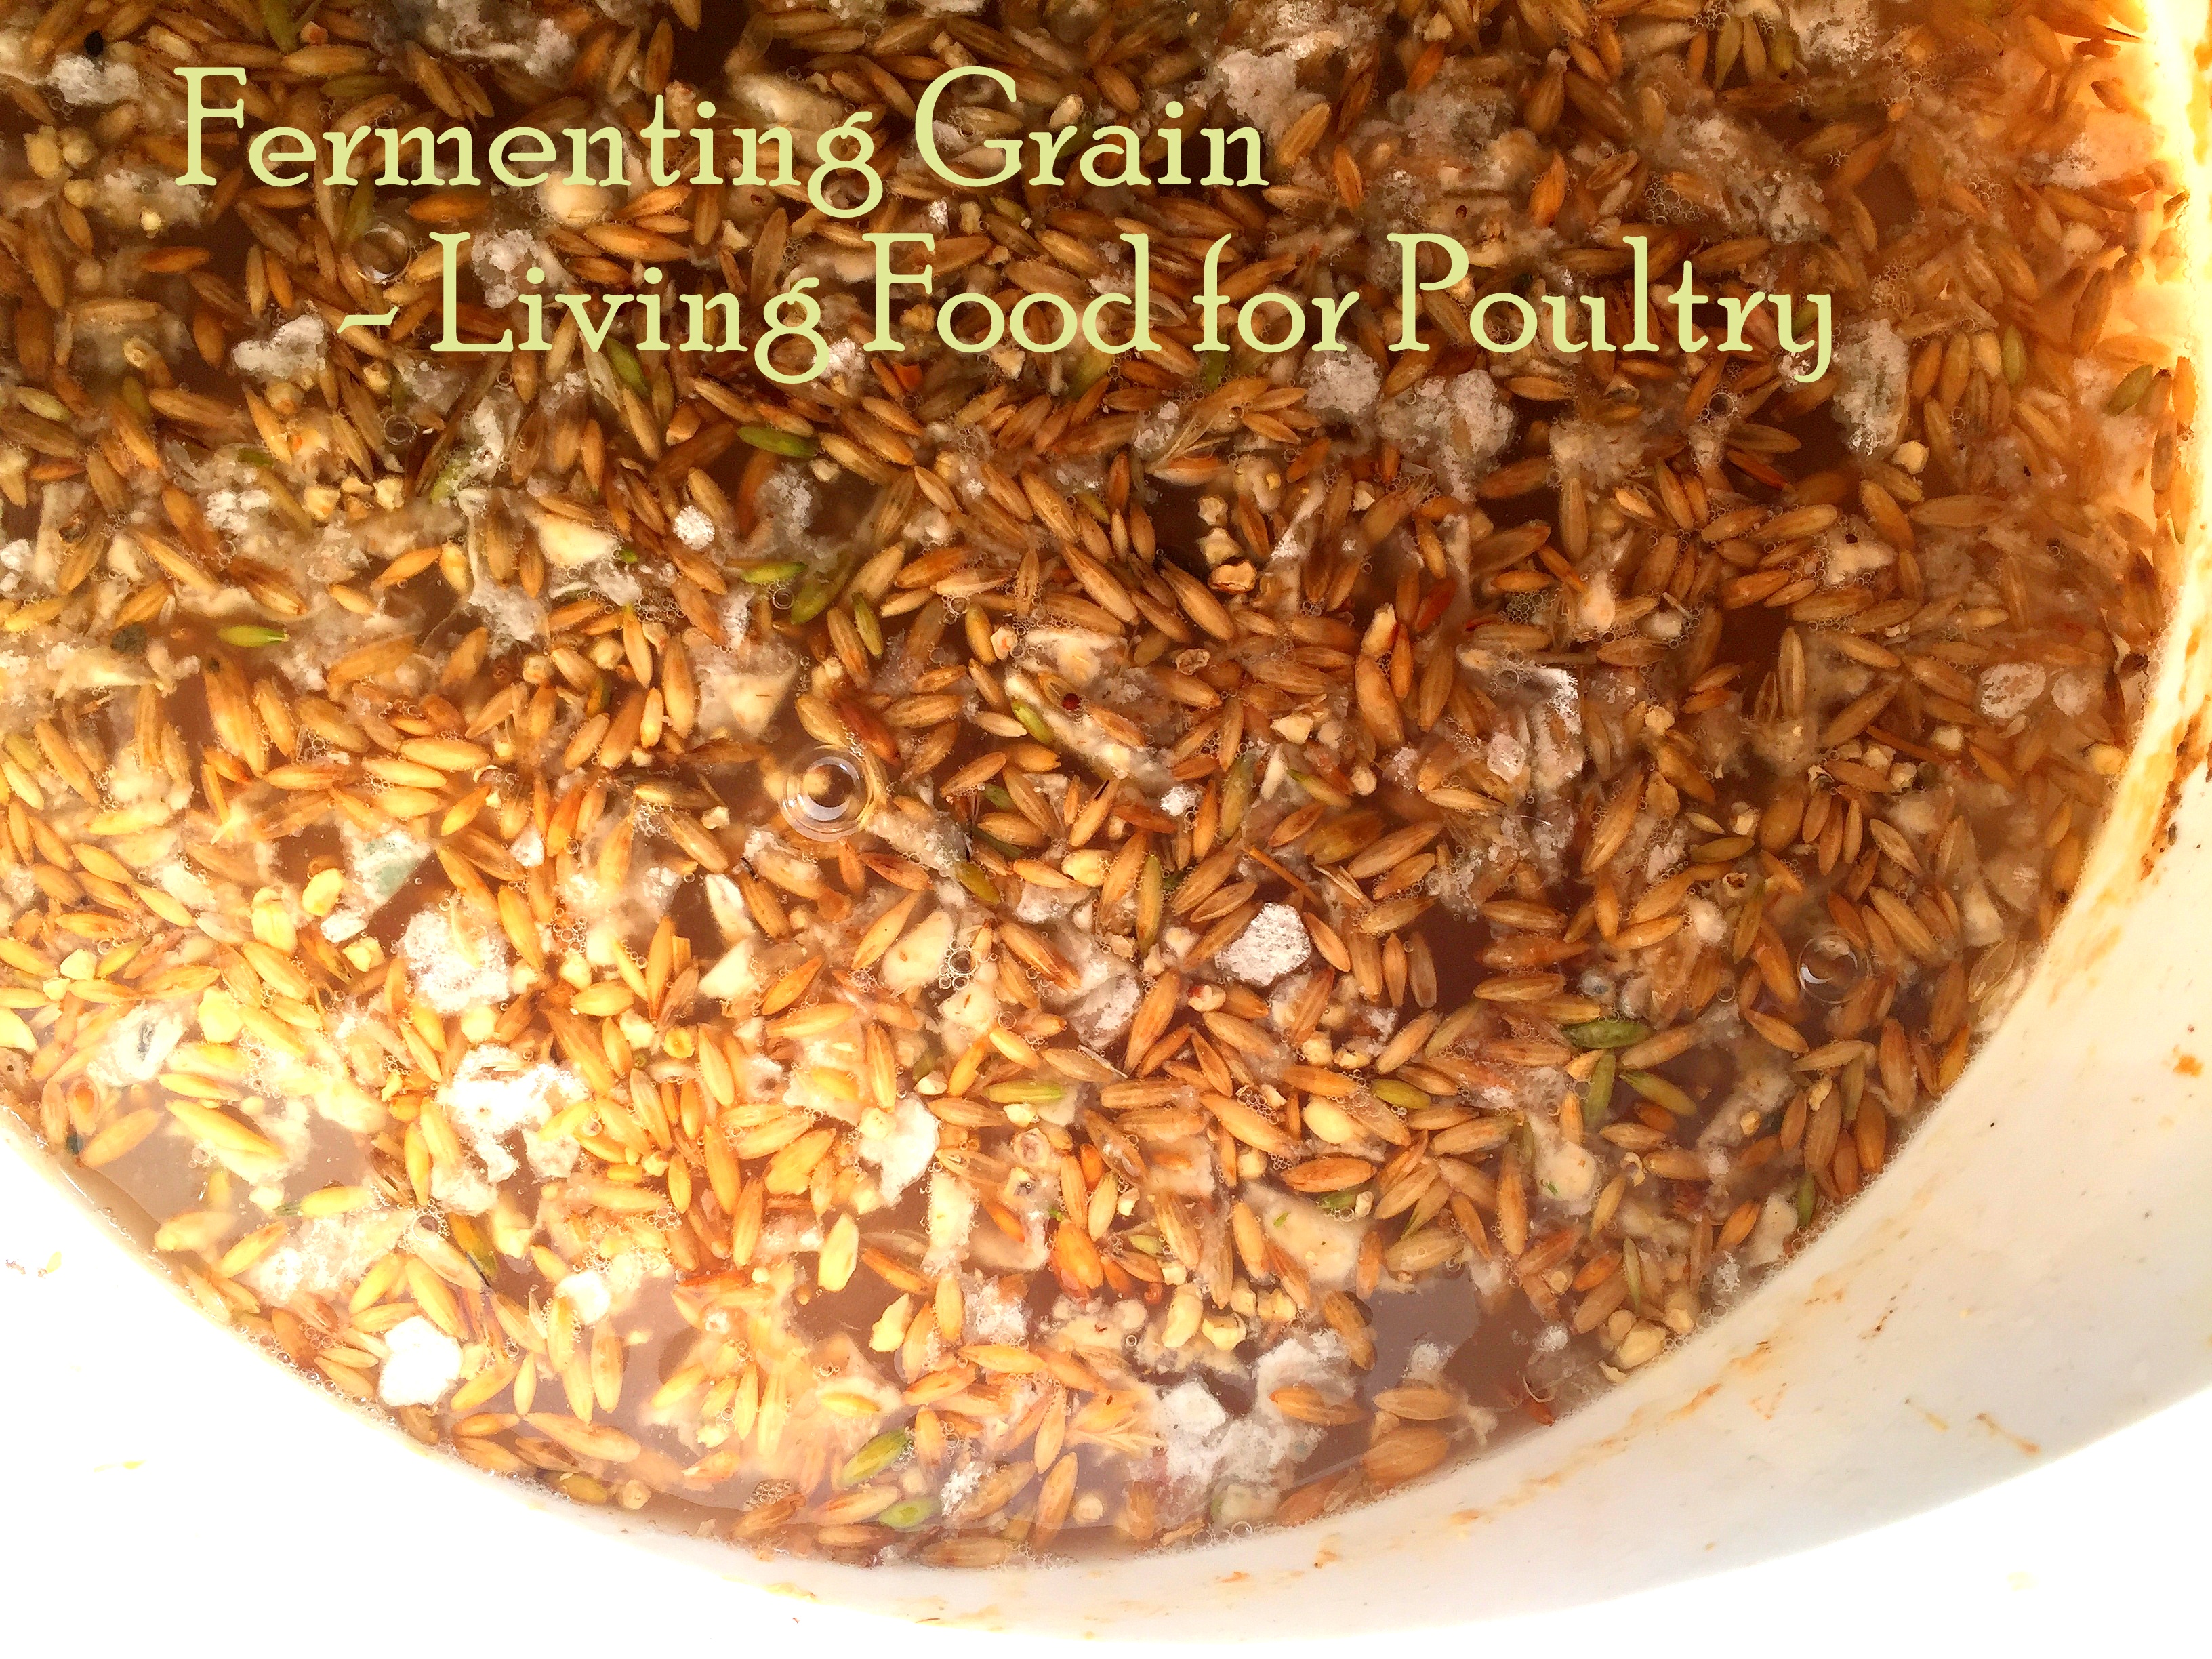
Fermenting can be superior to dry feed in a number of ways.
1) More nutritious The typical grain is equipped with phytic acid and enzyme inhibitors that protect the grain until it is ready to plant into the ground.
This is great for the grain, but in using the grain for food, it creates barriers during the digestive process. This will inhibit the actual nutrients derived
from the grain, which is dependent on the strength of the bird’s digestive system. ACV is often added to the water for this purpose, but fermenting will break
down this barrier and insure maximum nutrients are derived from the food. Basically, fermenting is “predigesting” the grain, making the fermented food a nutrient dense food.
It begins the digestion with the yeast feeding off carbohydrates and sugars.
2) Added probiotics The fermenting process adds beneficial yeast and bacteria the yeast brings in with it. This will add to the health
of the microflora in the gut of the bird.
3) Economical Buying local grain will typically cost much less than a pre-mixed organic or commercial feed. You do not have to pay for
packaging and marketing costs that are passed down to the consumer with commercial brand foods. If you find a local source, you will be supporting your
local farmers and will get the most economical price for your grain. Plants grown in your environment will be the most appropriate for your flock living
in that same environment. But commercial or pre-mixed organic food will still be better if fermented.
4) Increased Volume of Feed During the fermenting process, the volume of food stuff will double as the grain will swell with the water it is fermenting in, making it even more economical.
5) Less bird poop The high digestibility will figure in a smaller output! Less stinky too.
6) Added hydration The feed is wet, so it will add water to the diet.
Vessels
Vessels that work the best are those with a large open area open to the air, like crocks and buckets. With wild fermentation, a lot
of the yeast is being drawn from the air, and the more opportunity you give it, the better the fermentation gets rolling.
• Food grade buckets (check codes on the bucket in the triangle. Codes 1, 2, 4, and 5. Code 2 is preferred)
• Glass Jars
• Ceramic Crocks
Water
• Water is the medium in which the yeast organism will live and work, drawn from the air or the seed. Water is the medium in which the yeast
organism will live and work, drawn from the air or the seed itself (hence the term “wild” fermentation) and into the water.
– Municipal water You must remove the chlorine from this water source.
This can be done by either by boiling the water or letting it sit for 8 hours to let the chlorine gas dissipate. If you boil, you must let the water cool down before using.
• Well water
• Spring water
• Filtered water
Grains
• Loose grains – wheat, oats
• Scratch feed Corn (whole or cracked non-GMO preferred)
• Organic feed Commercial feed
• Alfalfa meal Soybean meal (non-GMO preferred)
• Cloves of garlic (add in with the grain)
• BOSS (Black Oiler Sunflower Seed)
Inoculator
The inoculator, or starter, will give the fermenting process a “jump start”. This is optional as relying on wild yeast only will work too, only more slowly.
• Liquid from previous fermented batch
• LAB (Lactic Acid Bacteria)
Process
• In clean vessel, place grain. Allow for grain expansion as it soaks, so typically filling the vessel half full is a good place to start.
• Fill with water. Water level should sit only a couple of inches from the top of the grain, so you may have to add more water at times.
• Let it ferment for the desired time period, stirring daily at least twice a day. The stirring will help introduce
more wild yeast from the air into the water and also help to keep mold forming on top. If mold does happen, just skim it off. The grains can
be left floating so long as you stir every day.
• The ferment should have a sweetish sour smell. You can also taste it along the way and you should get a very nice grain flavor with a tang!
• You can cover the ferment or not, but not tightly if you do. It is would be wise to cover if you want to keep out flies and other bugs. Some cover due to evaporation issues.
• Strain before using.
Timing
The ferment time can go anywhere from 1-5 days. The longer the ferment, the better your end result. After 5 days, the fermenting will stop and
become acidic because the yeast will not have anything more to feed on. You would have to continually add new grains to keep the process going.
Some people maintain a continuous process by adding grain and taking fermented grain out each day.
Supplements
If fermented foods are given as a complete diet, vitamins, minerals, salts will need to be given to insure adequate nutrition is given each day.
For now, I will list supplements mentioned. I don’t have proportions for a total recipe.
• Dried kelp
• Dried Nettles
• Garlic (fresh or powdered)
Source:
The Art of Fermentation by Sandor Ellix Katz Wild Fermentation by Sandor Ellix Katz

